I knew I wanted to have a fun calendar at home, and I love the look of chalkboards. I went searching and found some great options on Etsy, but was not about to spend $100 on a calendar I knew I could make. This project ended up costing in the neighborhood of about $25 (with left over supplies to use for future projects).
I picked up this picture at a consignment shop for about $13. I liked the frame and the size was perfect.
 |
| Frame, chalk, Sharpie paint marker, chalkboard spray-paint, EZ-Ancor wall anchors, picture hangers ("teeth"). |
 |
| My sweet Lola came to help! |
I placed the glass on the spread out garbage bag and sprayed slowly and evenly, alternating coats between lines and circles. Each coat will need about 15-20 minutes to dry, and I sprayed 7 coats.
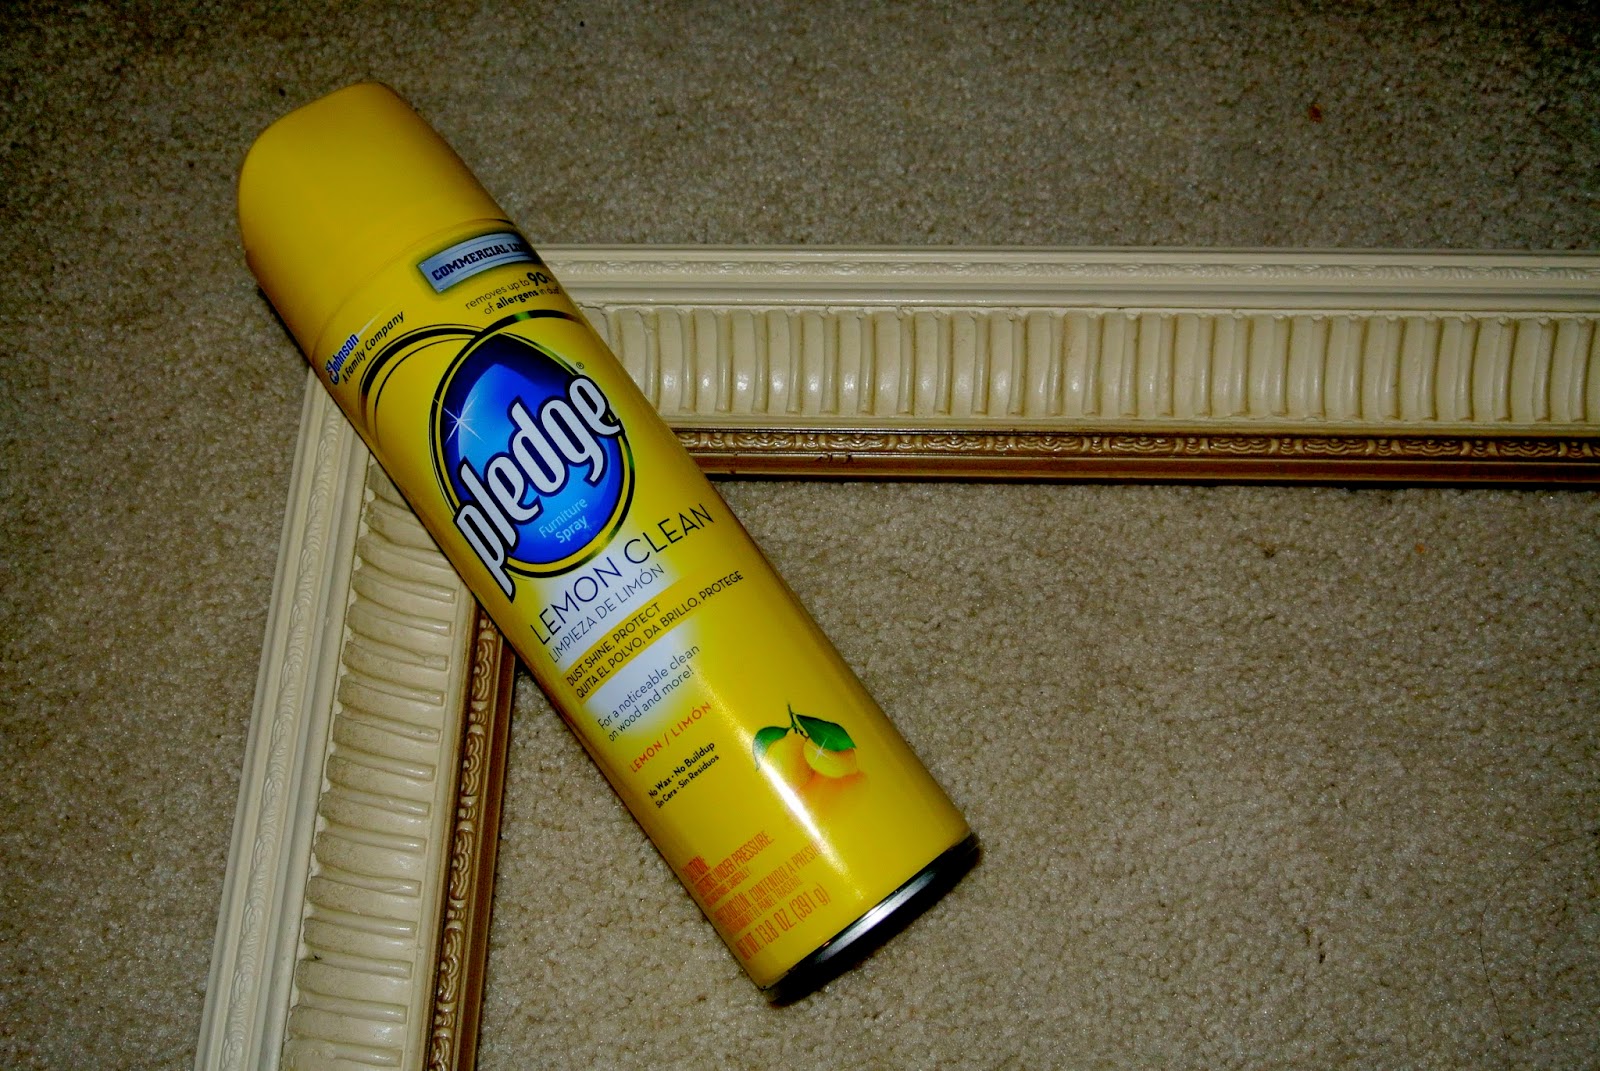
While each coat of paint was drying, I cleaned the shizznit out of the frame. I mean I had Q-Tips to clean each little crevice. This frame had been sitting in a consignment shop and was covered in dust. Plus, I didn't want to paint the frame because I actually really like it. After my frame was totally clean, I added three saw tooth picture hangers to the top. These came with teeny-tiny nails to attach, but were pretty easy to do after the first one.
The next step was the hardest. I brought out my rule and measured out my calendar rows and columns. The sizes for each "box" will change depending on your preference and how big your frame is. Each day on my calendar is about 2x2 inches. I made sure to add two rows on top of my 5 even rows, one for days of the week and one for the month. I went over these lines (twice!!) very carefully with the white Sharpie paint marker I found at Michael's (you could probably use any light color). I let this dry overnight.
Last (and absolutely, completely, totally most important) step, is to shade over the entire chalkboard with a piece of chalk. This sets the chalkboard paint so that the first time you right on it, whatever you write doesn't become permanent. To set the paint, lay a piece of chalk on it's side and lightly go over the entire board in a circular motion. I went over the board about 3 times, let it sit for the rest of the day (about 8 hours), and wiped the whole thing off with a dry paper towel at the end of the day. When you put the glass back into the frame, use small nails to hold the cardboard backing in that you cut out at the beginning.
Here is a picture of the complete project! I love my calendar and it is a fun and unique way to keep track of our everyday lives (plus it looks so cute in my kitchen!).
I hope this DIY pictorial is helpful, and if you try this project let me know how it turns out!


No comments:
Post a Comment